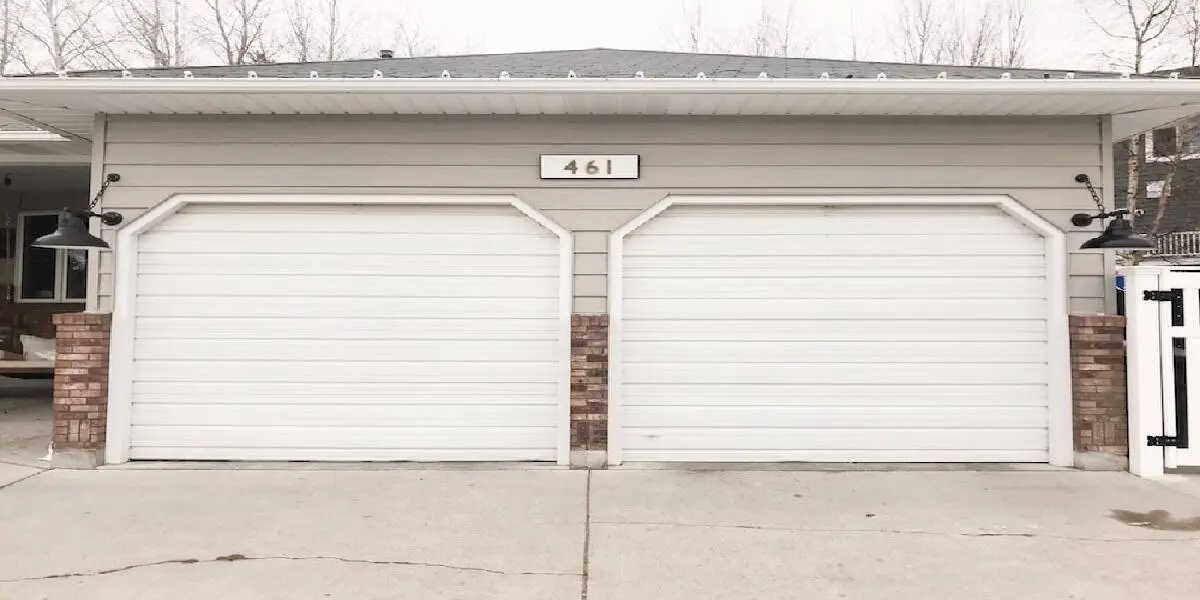
Garage doors and openers have several moving parts. Most parts of the garage doors and openers have sharp edges, and those are made of metal. So, while working with those metal parts, you need to be really careful. Similarly, wear protective gloves when replacing the garage door bottom bracket to avoid unwanted situations.
So, let us discuss five tips you need to remember while doing the tasks, like how to replace the garage door bracket.
Bottom brackets and other important parts like cables need to be repaired or replaced in pairs to ensure proper continuity in the entire length. If you replace the additional parts while replacing the cables and bottom brackets of your garage door, it will save a lot of time and energy in the future.
Five tips to replace garage door bottom bracket
-
1. The tools required
The tools that you will need while replacing your garage door bottom bracket are:
- Locking pliers (two pairs).
- Various sockets
- Winding bars or metal rods
- A ladder
- Wrenches of various sizes, such as ½, 3/8, 9/16, and 7/16.
- Safety glasses, etc.
If you have these tools, you should start your work on replacing the garage door bottom bracket. Also, if you have work boots, do not forget to wear them. Do not wear any jewelry or loose-fitting clothes during the repair or replacement process. It can be much better if you have some amount of mechanical aptitude and skill regarding garage door repairs.
-
2. Unplugging the opener and removing the arm
In the first tip, remember to unplug your garage door opener from the electrical outlet and carefully remove the arm. Now, lock the door closed and put clamps on the track above the middle roller. This step will ensure that the door will not open while you do your job.
-
3.Unwinding the springs
Keep the ladder in a way that you will be able to keep your face from the winding bars and cone while unwinding the garage door springs. Now, firmly hold the winding bar and insert a winding bar into the cone, then loosen the screws that are set on the winding cones.
-
4. Removing the cable
Another important tip regarding the process of replacing the garage door bottom bracket is to loosen the screws on the cable drum. Then, slide away from the cable drum from the bearing plate and remove the cable from the drum.
-
5. Removing the bottom bracket
To do this part, you should remove the light bolt that usually holds the bottom bracket to the wall. Then, remove the fasteners and slide the truck to a side to remove the bottom bracket from your garage door.
Therefore, these five tips for replacing garage door bottom brackets can be really helpful. However, if you wish to have the assistance of experts, you can contact Infinity Garage Door.
Keeping your garage door in top condition is crucial for home security and functionality. A key component of this is the garage door bottom bracket, which often requires attention. This guide will walk you through replacing your garage door bottom bracket, ensuring your door operates smoothly.
Understanding Garage Door Brackets: The bottom bracket of a garage door plays a pivotal role in its operation, connecting the door to the lifting mechanism. Knowing when it’s time for a replacement is vital. Look out for signs like unusual noises or difficulty in opening the door.
Preparing for Replacement: For this DIY task, you’ll need specific tools, including locking pliers, various wrenches, and safety glasses. Prioritize safety by wearing protective gear and disconnecting the power supply.
Step-by-Step Replacement Instructions:
Unplug the Opener:
Ensure your garage door opener is disconnected from the power source to prevent accidents.
Remove the Arm
: Detach the arm of the opener from the garage door.
Unwind the Springs
: Carefully unwind the springs using winding bars, keeping your face away from the bars and cone.
Remove the Cable
: Loosen the screws on the cable drum, slide it away, and remove the cable.
Replace the Bottom Bracket
: Remove the bracket’s bolt, slide the truck aside, and replace the bracket.
Post-Replacement Checks and Maintenance:
After installation, test your garage door several times to ensure it operates smoothly. Regular maintenance can significantly extend the life of your garage door components.
When to Call a Professional:
If you encounter complex issues or feel unsure about DIY repairs, it’s wise to contact a professional garage door repair service. They can provide expert assistance and ensure safe and effective repairs. please call us at 7028903611 for a free estimate – Infinity garage door
Conclusion:
This guide aims to empower homeowners with the knowledge to replace their garage door bottom brackets. Regular maintenance and timely repairs are key to a well-functioning garage door. Remember, safety first, and don’t hesitate to seek professional help when needed.

