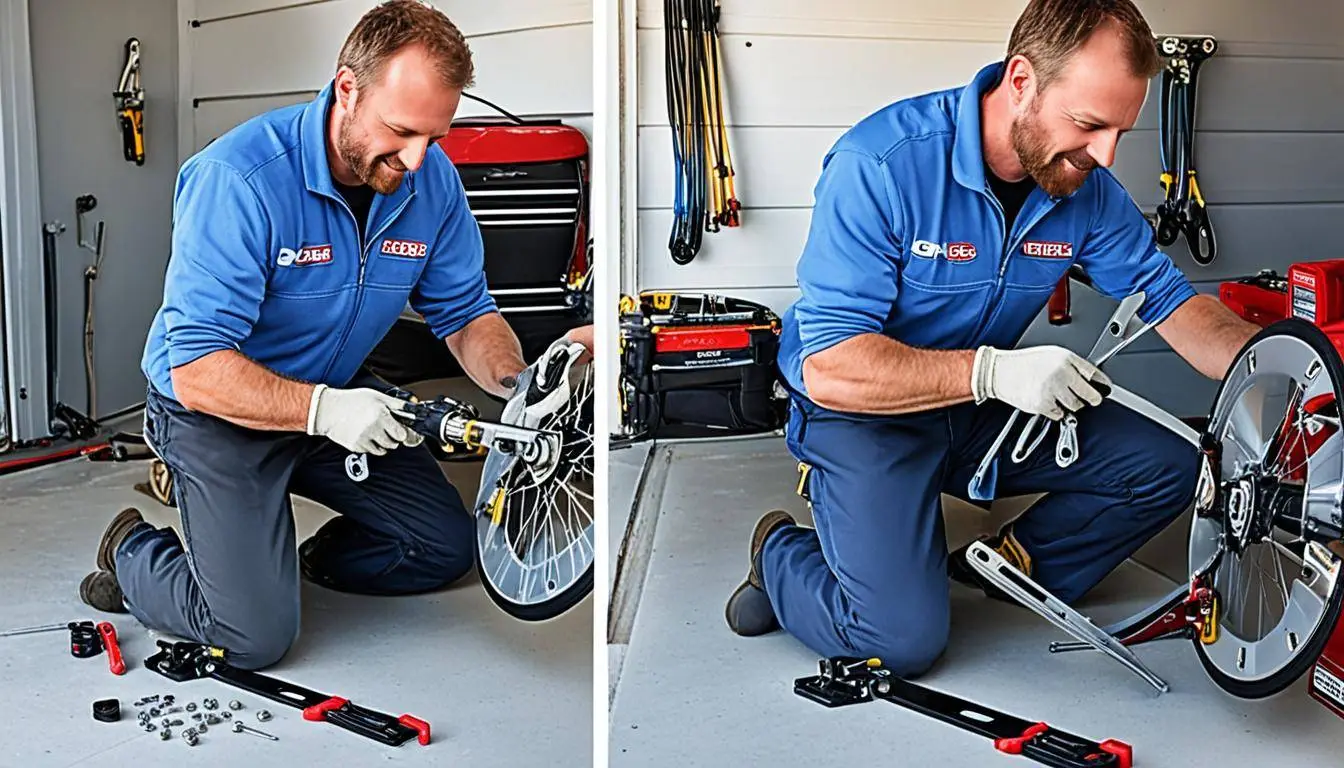
Did you know that DIY repairs cause one in fifteen garage door injuries? It’s a staggering reminder of the nuanced risks when we roll our sleeves to tackle garage door bottom bracket replacement ourselves. For many, replacing the bottom bracket on a garage door is an achievable DIY project; however, the right approach can lead to satisfaction or, worse, injury. Whether you’re a hardened DIY enthusiast or contemplating your first foray into home repair, understanding the ins and outs of this task could be the difference between a job well done and a costly mistake. From seeking professional garage door repair to diving into DIY garage door repair, we’ve gathered key insights that every homeowner should know.
At Infinity Garage Door, we’re all about empowering our clients and readers and ensuring you have the knowledge and support you need when replacing bottom-bracket garage door components. With safety as our watchword and efficiency as our aim, we step into the breach with tips to ensure your garage door is in peak condition. So, without further ado, we can go into how to perform a garage door bottom bracket replacement and when it’s best to call the professionals.
Key Takeaways
- Understand the risks before attempting DIY garage door bottom bracket replacement.
- Utilize proper protective gear to prevent injuries during repair tasks.
- Assemble the correct set of tools to carry out the replacement smoothly.
- Professional assistance is invaluable for those unfamiliar with mechanical repairs.
- Infinity Garage Door is your go-to source for safety tips and professional garage door repair services.
The Importance of the Garage Door Bottom Bracket
When attending to garage door maintenance, the significance of the bottom bracket is often underestimated. Yet, this component is a cornerstone for your garage door’s functionality, anchoring the door to the counterbalance system. A compromised bottom bracket can manifest as unsettling noises or operational difficulties, warning signs that should never be ignored. We prioritize a garage door bracket replacement not just for the seamless operation of the door but for the enhanced security it grants your home.
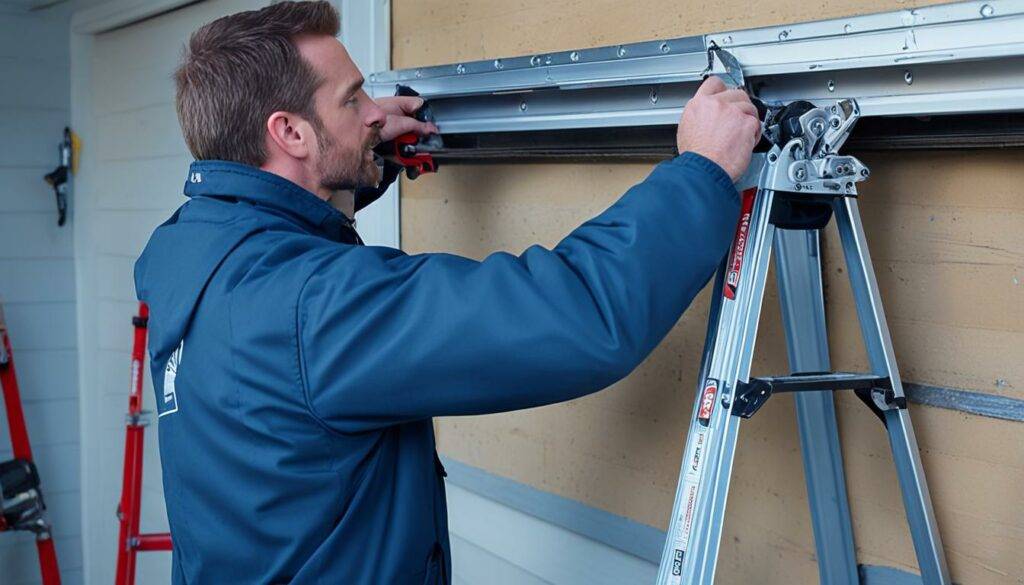
Proactive and regular inspections can thwart potential issues that, if neglected, could escalate into more costly garage door repairs. It’s important to note that problems with the bottom bracket could affect the entire system’s integrity, leading to a need for comprehensive overhauls. By staying ahead with timely inspections and garage door maintenance, we ensure that all components, especially the bottom brackets, are in prime condition, prolonging the lifespan of your garage door system.
Remember, the strength of your garage door lies in the reliability of its parts. Taking preemptive measures secures not just the door but also your peace of mind.
- Listen for unusual noises indicating bracket issues
- Regularly check for signs of bottom bracket wear
- Consider professional inspections for expert care
Understanding the importance of the bottom bracket in the grand scheme of garage door repair and maintenance encapsulates our commitment to ensuring that your garage doors not only function but also guarantee the safety and security of your property.
Preparation and Safety Measures for Bottom Bracket Replacement
When we set out to replace the garage door bottom bracket, Las Vegas residents often ask about the preparatory steps. First, collecting all the necessary tools is crucial to ensure the DIY garage door repair proceeds without hitches. This streamlines the process and prepares you for any unforeseen situations.
Gathering the Right Tools
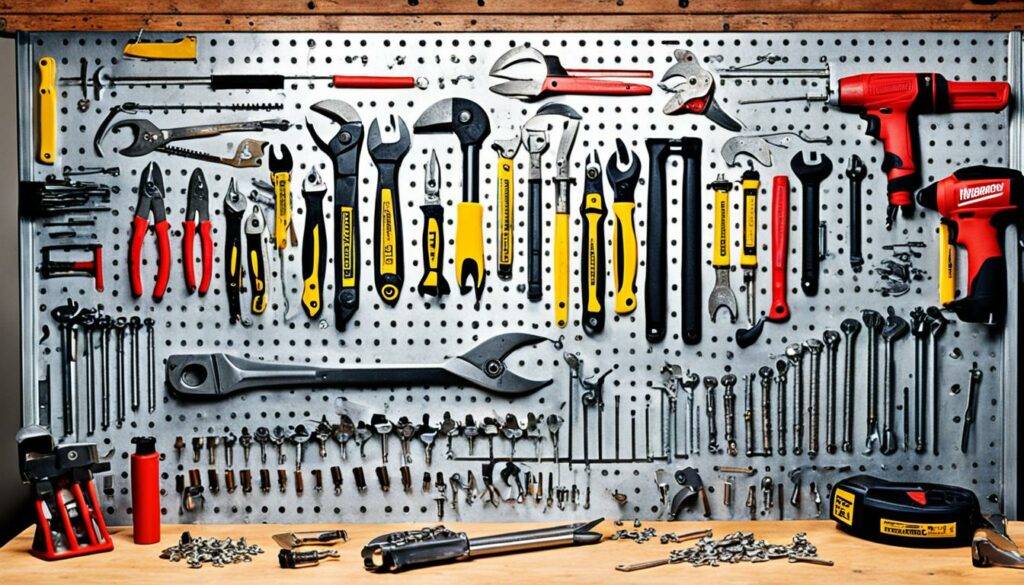
For a successful bottom bracket replacement, there are several tools that you must have at your disposal. These include:
- Locking pliers
- A set of wrenches
- Winding bars or solid metal rods
- A sturdy ladder
- Safety glasses
Having these tools on hand helps us to tackle garage door repair Las Vegas style: efficiently and effectively.
Ensuring Your Safety with Proper Gear
Our commitment to safety is unwavering, especially regarding diy garage door repair. To avoid personal injury, we always wear the proper protective gear, which includes:
- Safety glasses to protect our eyes from debris
- Sturdy work boots to safeguard our feet
- Durable gloves to prevent cuts and abrasions
These safety measures are not just recommendations; they are essential protections when performing tasks such as garage door maintenance or repair.
Disconnecting Your Garage Door Opener
Before beginning the bottom bracket replacement, we ensure the garage door opener is disconnected from the power source. This is a fundamental step that cannot be overlooked because it:
- Prevents the garage door from being accidentally activated
- Eliminates the risk of electric shock
- Provides a secure environment to work in
Disconnecting your garage door opener is a safety protocol that protects everyone involved in the repair process.
“Safety and preparedness are the keystones of effective diy garage door repair. By taking these steps seriously, we set the stage for a successful bottom bracket replacement.”
Once the garage door is safely immobilized and the workspace is secure, we are ready to proceed with the replacement process. Our extensive experience in garage door repair in Las Vegas ensures that we are prepared to handle any situation with poise and professionalism.
Garage Door Bottom Bracket Replacement Process
Embarking on a DIY garage door repair project to replace the bottom bracket garage door component is a task that demands precision and vigilance. We’ve outlined a meticulous process to guide you through this intricate procedure safely and efficiently. Before commencing, we ensure the garage door opener is unplugged, and the garage door is firmly secured. It’s essential to exercise caution, particularly when unwinding the springs, a critical step in alleviating tension within the system.
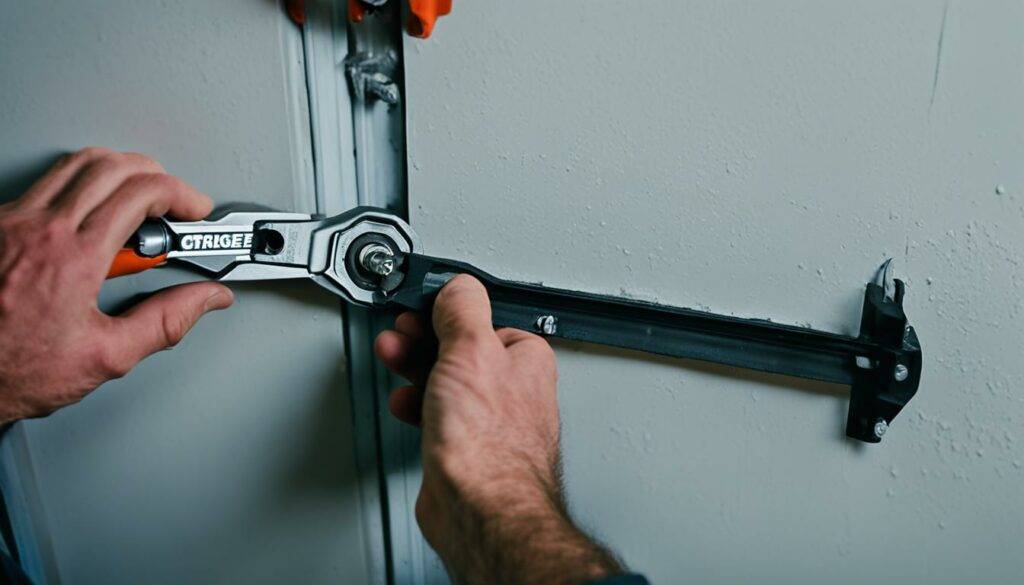
Following the reduction of spring tension, the next phase is to remove the cables safely. Once the cables are detached, the focus shifts to the core objective, removing the bottom bracket. This begins with carefully extracting bolts and fasteners, a straightforward yet essential step. Upon loosening these components, we gently slide the bracket out from its position, marking the pivotal moment in the replacement process. Correct execution of these sequences is vital for a successful replacement and for maintaining the integrity and functionality of your garage door system.
- Unplug and secure the garage door opener
- Cautiously unwind the springs
- Remove the cables with utmost care
- Detach bolts and fasteners from the bottom bracket
- Slide the bracket out for replacement
Through these well-orchestrated steps, we ensure that replacing your garage door’s bottom bracket is done with an emphasis on safety, accuracy, and the promise of restoring seamless operation to your garage’s entryway. Please remember that professional assistance is just a call away to ensure that the door remains a reliable asset to your home.
Maintenance Tips Post Replacement
After completing a garage door bottom bracket replacement, it’s not just about closing the toolbox and moving on. We conduct thorough functionality tests and commit to an ongoing maintenance schedule to ensure our garage doors operate optimally. This diligence contributes to the longevity and reliability of your garage door system.
Performing a Functionality Test
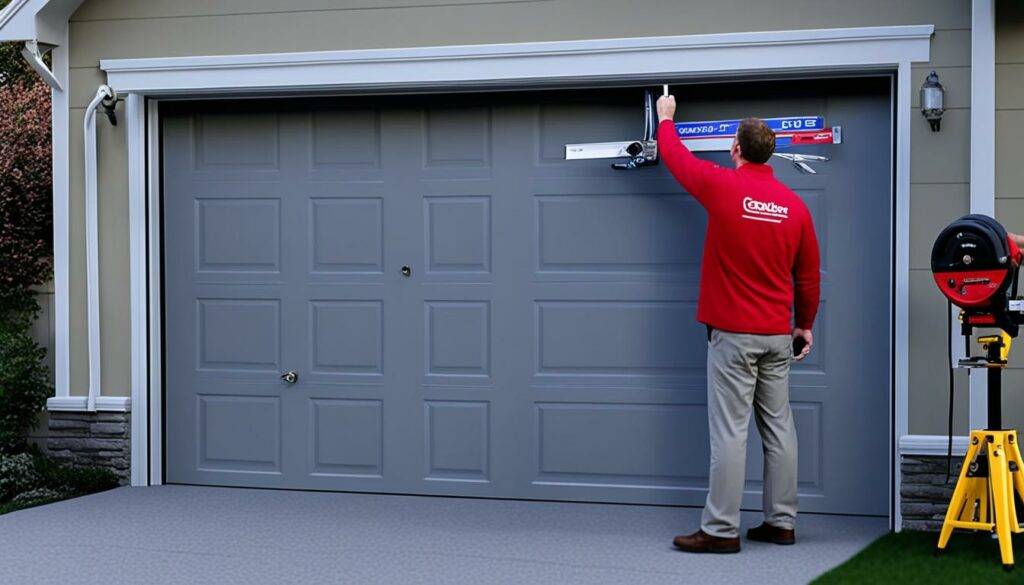
Post-replacement, our first step is scrutinizing the installation with a functionality test. We open and close the garage door multiple times, observing its movement and listening to unusual sounds. This meticulous process is essential, as it helps us identify if there are immediate issues, such as resistance or grinding noises, that may suggest the necessity for further adjustments.
Ongoing Maintenance for Longevity
True to our professional ethos in garage door maintenance, we remain committed even after the replacement is complete. Regular checks and maintenance are paramount, including lubricating moving parts and promptly addressing wear signs. By adhering to a scheduled maintenance plan, we extend not just the bottom bracket’s life but the entire garage door system, ensuring peak performance and security.
- Monthly examination of garage door parts
- Lubrication of rollers, hinges, and tracks
- Balance tests to prevent uneven wearing
- Replacement of weather stripping to keep the elements out
If you have any problems, please get in touch with me for professional garage door repair. It’s always better to tackle minor issues before they escalate into more significant, more costly problems. Let us help keep your garage door in top shape, guaranteeing safety and functionality for years.
Conclusion
Throughout this comprehensive guide, we have aimed to empower homeowners with the necessary knowledge for a successful garage door bottom bracket replacement. Our focus has always been on ensuring safety while providing a thorough understanding of the process involved. We have discussed the importance of the proper tools and safety measures, which are crucial for avoiding injuries and achieving a reliable repair. These preparatory steps set a solid foundation for DIY enthusiasts to tackle the task confidently.
However, we understand that not all homeowners may feel comfortable performing such tasks independently. This is where professional assessment and support become invaluable. We advocate for regular maintenance to preserve the functionality and safety of your garage door system. If you need professional garage door repair, please do not hesitate to seek expert technicians who can provide quality service and peace of mind. Remember, timely interventions by professionals can save you time and prevent potential hazards.
For those needing help, Infinity Garage Door is ready to offer its expertise and services. Please get in touch with them for a free estimate and ensure your garage door is in the best condition. I want you to know that your safety and satisfaction are paramount; professional guidance is just a call away at 702-890-3611. By entrusting your garage door care to specialists, you secure the longevity and reliability of your home’s most significant moving component.
Las Vegas Neighborhoods that we serve
- Arlington Ranch
- Canyon Gate
- Coronado Ranch
- Enterprise
- Highlands Ranch
- Montecito
- Mountain’s Edge
- Nevada Trails
- Park House
- Peccole Ranch
- Queensridge
- Rhodes Ranch
- Sovana
- Southern Highlands
- Southern Terrace
- Southwest Ranch
- Spanish Hills
- Spanish Trail
- Spring Valley
- The Foothills
- The Section seven
- Downtown Las Vegas
- Las Vegas Country Club Estates
- Las Vegas Strip Condos
- McNeil Estates
- Rancho Bel Air
- Rancho Circle
- Rancho Las Palmas
- Rancho Nevada
- Silverado Ranch
- Spanish Oaks
- Paradise
- Anthem
- Black Mountain
- Calico Ridge
- Foothills
- Gibson Springs
- Green Valley North
- Green Valley Ranch
- Green Valley South
- Highland Hills
- Inspirada
- Lake Las Vegas
- Macdonald Highlands
- Macdonald Ranch
- Mccullough Hills
- Midway
- Mission Hills
- Paradise Hills
- Pittmann
- Regency Hills
- River Mountain
- Seven Hills
- Southfork
- Stags Leap
- Townsite
- Valley View
- Whitney Ranch
North West Neighborhoods that we serve
FAQ
What are the signs that a garage door bottom bracket needs replacement?
Indications that you may need to replace your garage door bottom bracket include unusual noises when operating the door, difficulty opening or closing the door, or visible wear and damage to the bracket itself.
Can you perform a garage door bottom bracket replacement as a DIY project?
Yes, replacing the bottom bracket on your garage door yourself is possible if you have the necessary mechanical skills, tools, and strict adherence to safety protocols. However, due to the complexity and potential hazards, we recommend this task be reserved for professionals, especially if you’re uncomfortable with heavy-duty DIY repairs. We recommend using the galvanized bottom bracket door standard and safety stopping bottom bracket.
What tools are required to replace a garage door bottom bracket?
You’ll need tools that typically include locking pliers, sockets, winding bars, or metal rods for torsion springs, wrenches, a ladder, and safety glasses.
What safety gear should I wear when replacing my garage door’s bottom bracket?
For any garage door repair, especially when replacing the bottom bracket, wear protective gloves to avoid cuts from sharp edges, safety glasses to protect your eyes, and work boots to shield your feet. I would also like to prevent mishaps and remove all jewelry and loose clothing.
How do I disconnect my garage door opener before replacing the bottom bracket?
First, ensure that the garage door is closed. Unplug the garage door opener from the power outlet and then detach the door arm connected to the opener. This will prevent the door from being activated accidentally during the repair process.
What steps are involved in replacing my garage door’s bottom bracket?
Critical steps in the replacement process include disconnecting and securing the garage door opener, carefully unwinding the door’s springs, safely removing the cables, and then detaching the existing bottom bracket by unscrewing its bolts and fasteners. After these steps, you can slide out the old bracket and install the new one.
How do I test the functionality of my garage door after replacing the bottom bracket?
Once you’ve replaced the bottom bracket and reconnected all components, test the door’s functionality by manually lifting and closing the door a few times to check for smooth operation. Look out for any resistance or abnormal noises that could indicate a need for further adjustments.
What ongoing maintenance should be performed following a bottom bracket replacement?
Routine maintenance should include regular inspections of the garage door’s components, lubrication of moving parts, and immediate attention to any signs of wear. Properly maintaining your garage door can significantly prolong the life of the bottom bracket and the entire door system.
Should I replace the garage door bottom bracket myself or hire a professional?
While some homeowners may have the skill set for a DIY bottom bracket replacement, it can be a complex and potentially dangerous task that typically warrants professional expertise. If you need more confidence in your abilities or need more tools and safety equipment, it’s best to contact a qualified garage door repair service such as our team in Las Vegas. For a free estimate on professional garage door repairs, you can reach us at 702-890-3611.
Are there specific reasons to choose professional garage door repair services in Las Vegas for a bottom bracket replacement?
Yes, opting for a professional garage door repair service in Las Vegas ensures that your bottom bracket replacement is handled safely and efficiently with the right tools and expertise. Professionals like those at Infinity Garage Door provide the necessary experience to diagnose and fix issues promptly, backed by a warranty on parts and labor. They can also address any unexpected complications during the replacement process, please call for any garage door bottom brackets repair.

